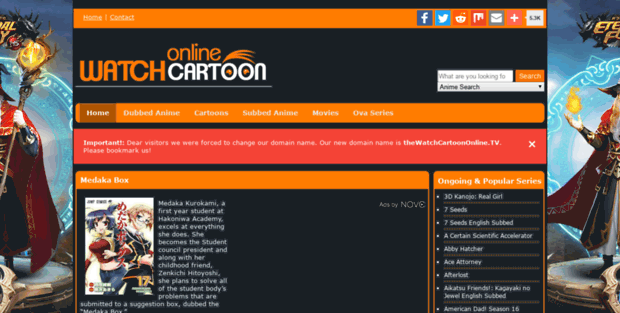
WatchCartoonOnline.io is the most popular free anime streaming site on the web; it offers you a verity of videos in the high quality. Millions of people love WatchCartoonOnline because it provides a better interface and user experience to the users for free. Here I will share with you a list of about 20 best WatchCartoonOnline alternatives to watch anime online for free.
You don’t need to sign up to watch your favorite anime video, but it is recommended after that you can create a list of your favorite videos and share them with your friends. You can also comment on the videos.
As you and I know WatchCartoonOnline is the best site to watch anime online, but everyone wants more, in the result, I researched on this and found 23 best similar websites like WatchCartoonOnline which you will love and enjoy your favorite anime videos.
What Is WatchCartoonOnline?
WatchCartoonOnline is an Anime streaming website where you can watch English subbed and dubbed anime for free in the high-definition video quality. WatchCartoonOnline also offers a mobile application for users; it is entirely mobile-friendly platform.
Websites Like WatchCartoonOnline to Watch Anime Online Best WatchCartoonOnline Alternatives.
Watching anime online for free may or may not be illegal; this list is only for educational purpose. In this list, I also tell you about the particular site’s interface, user experience, and popularity on the Internet.
If you find this list helpful then share it with your friends and family, suggestions and feedbacks are always welcome, so if you know any best alternatives of WatchCartoonOnline which is not listed in this list, then please comment it.
Unable access to WatchCartoonOnline? Below are the list of the best anime streaming websites where u can watch and download Anime Movies and Anime Series.
What happened to WatchCartoonOnline?
Since WatchCartoonOnline provides users with unrestricted access to copyrighted material, the official website was banned a long time ago. However, there are several operational WatchcartoonOnline mirrors available online. However, the dependability of these WatchCartoonOnline mirrors is uncertain.
To make things simpler for you, we scoured the web for hours to discover the top 20 websites with high-quality anime that allow you to stream your favorite anime online for free.
WatchCartoonOnline The Best 20 Alternatives
Before knowing about that I want to warn you, watching cartoons online for free may or may not be illegal, the following website list is only for the educational purpose.
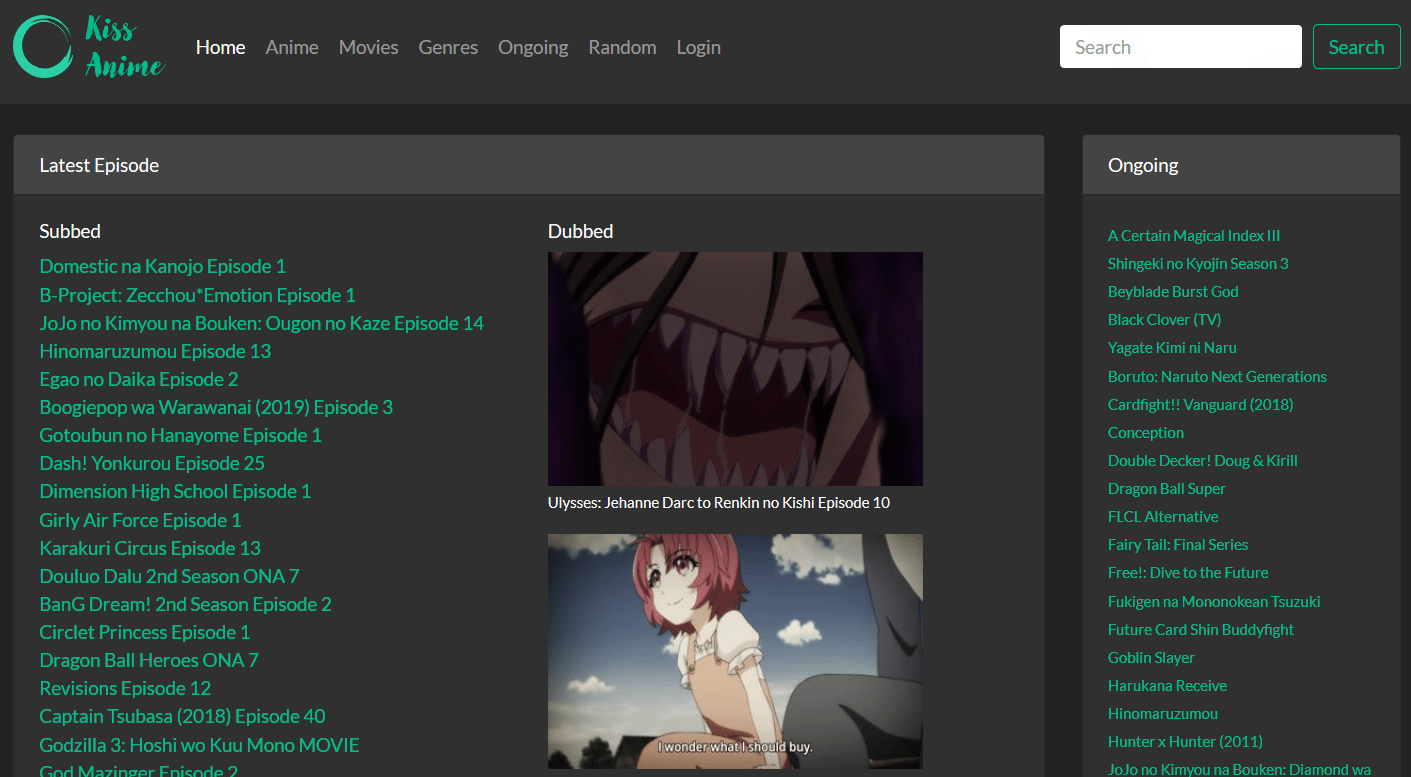
KissAnime

KissAnime is also a free website to watch cartoons and anime; it offers English subbed and dubbed anime in the HD video quality. It is mainly for anime lovers because they get almost all types of anime here.
This site is different from the above site Kiss Anime Club, so don’t be confused, it also has a movie section in the header. It is a mobile-friendly site, but you get many ads which could be irritating for you.
KissAnime is an old Anime streaming site which has around 40 million monthly traffic, most of the traffic comes from the US, which is approximately 50%. Try this site it could be the best alternative of WatchCartoonOnline for you.
9Anime
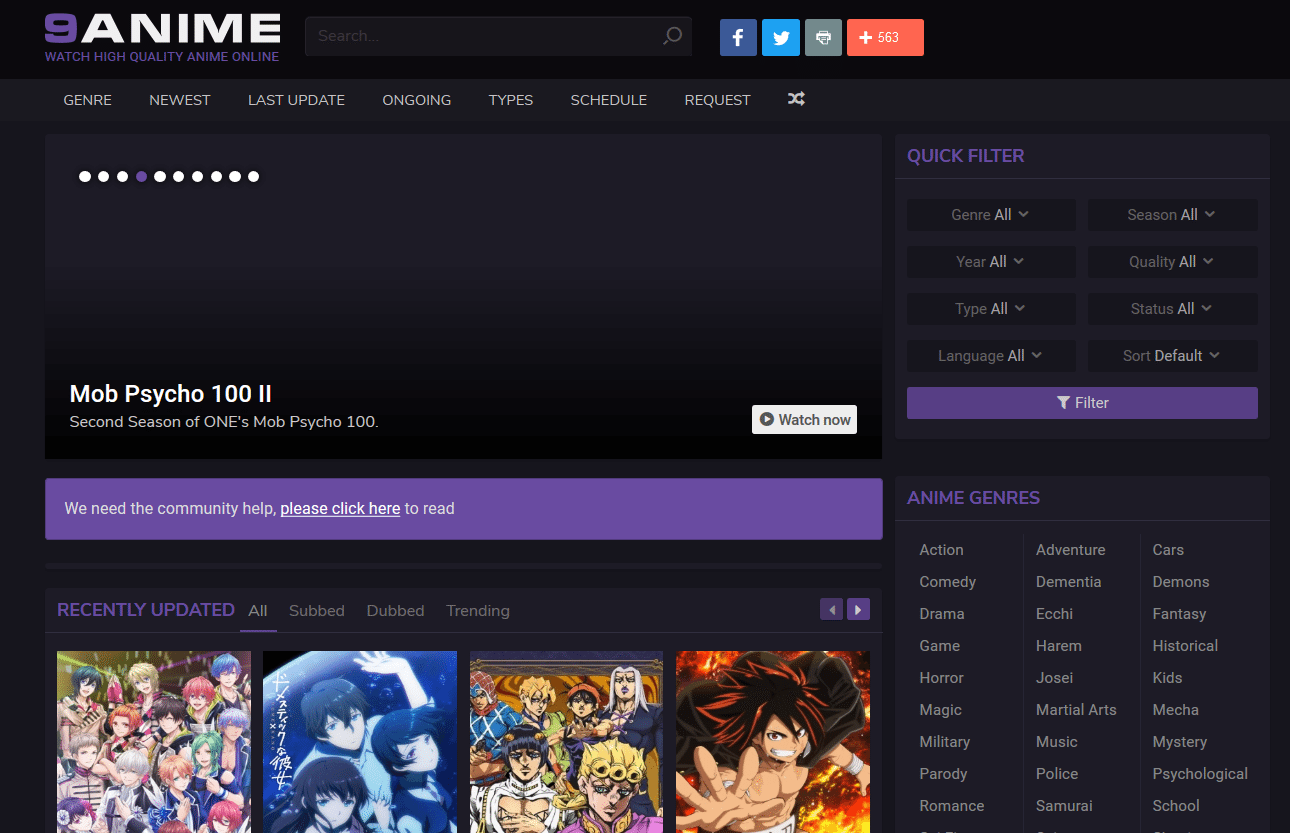
9Anime is one of the best websites to watch anime online; this site offers you a vast collection of anime series. It also accepts anime request in case any anime title is not listed in their list then you can request.
Site interface and user experience are not up to the mark, but they have a big list for anime. You will see many pop-up ads and display ads while streaming; pop-up ads will be open in the new tab of your browser.
Now let’s know about its popularity; it has around 10 million monthly users; most of the users come from the United States. Americans love anime. Best alternative to WatchCartoonOnline.
MasterAni.me
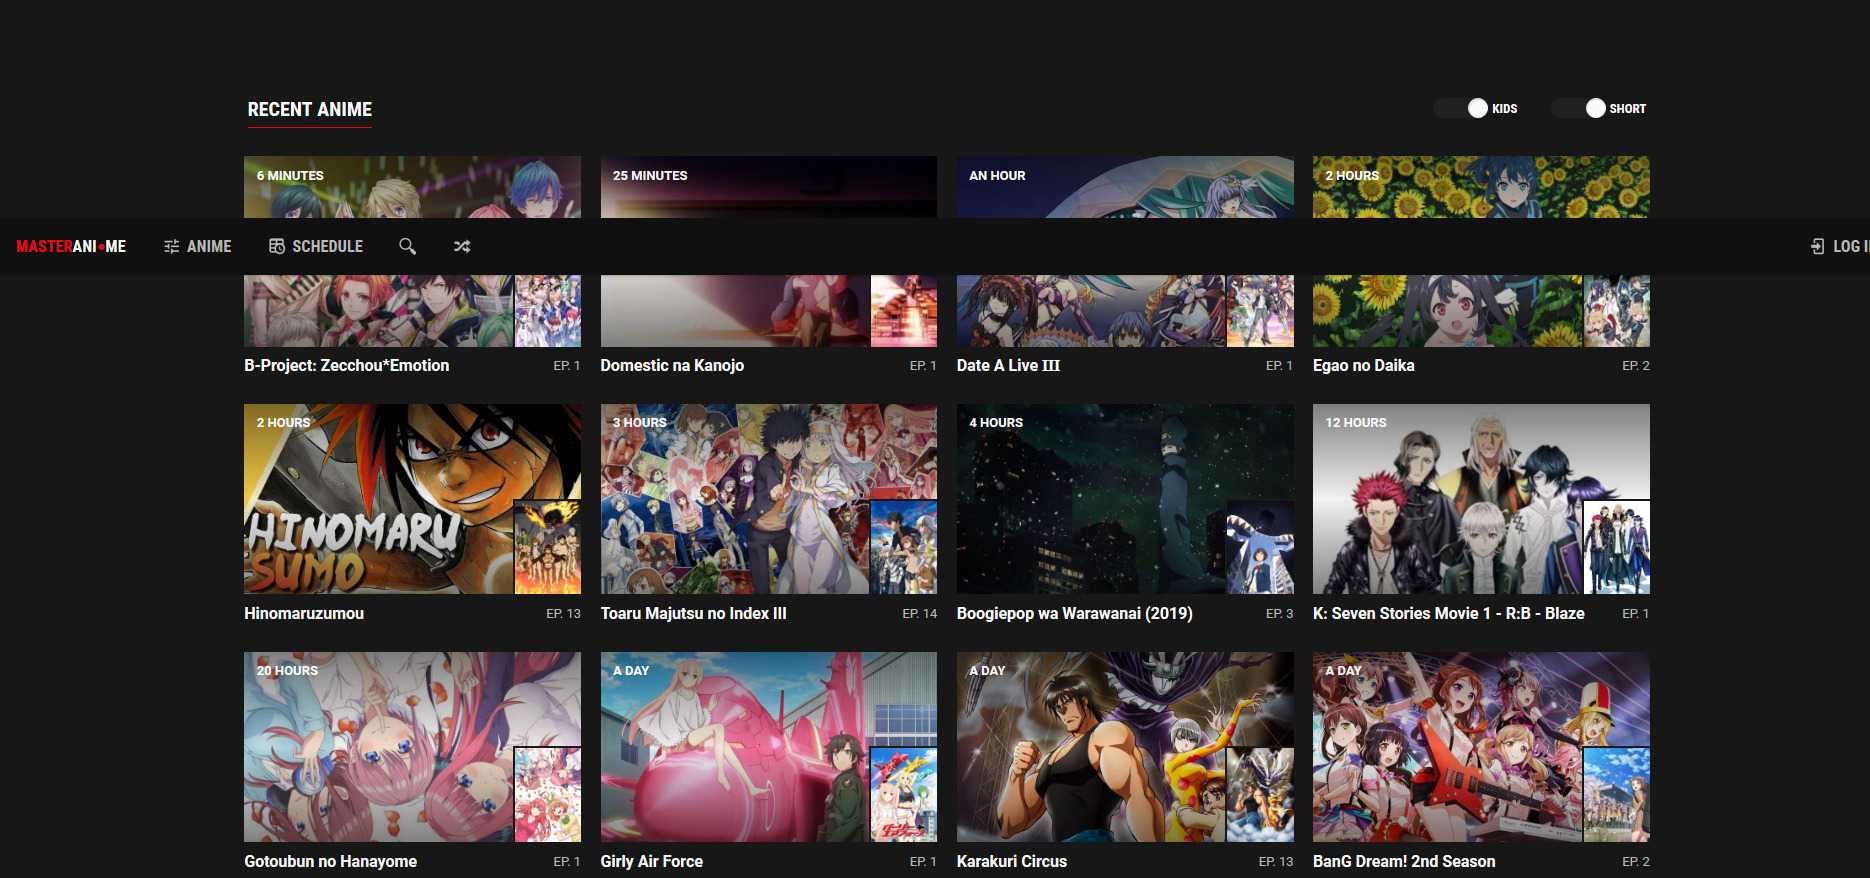
It is also a good platform to watch anime and cartoons; it offers you some section, or I can say category where you get your recent anime, being watched anime and popular anime of the day.
MaterAni.me had an excellent interface; here you get the homepage without ads, which is the best part of this site, User can operate this site efficiently because almost all things are categorized best alternative to WatchCartoonOnline.
Read : Watch Series Alternative
KissCartoon
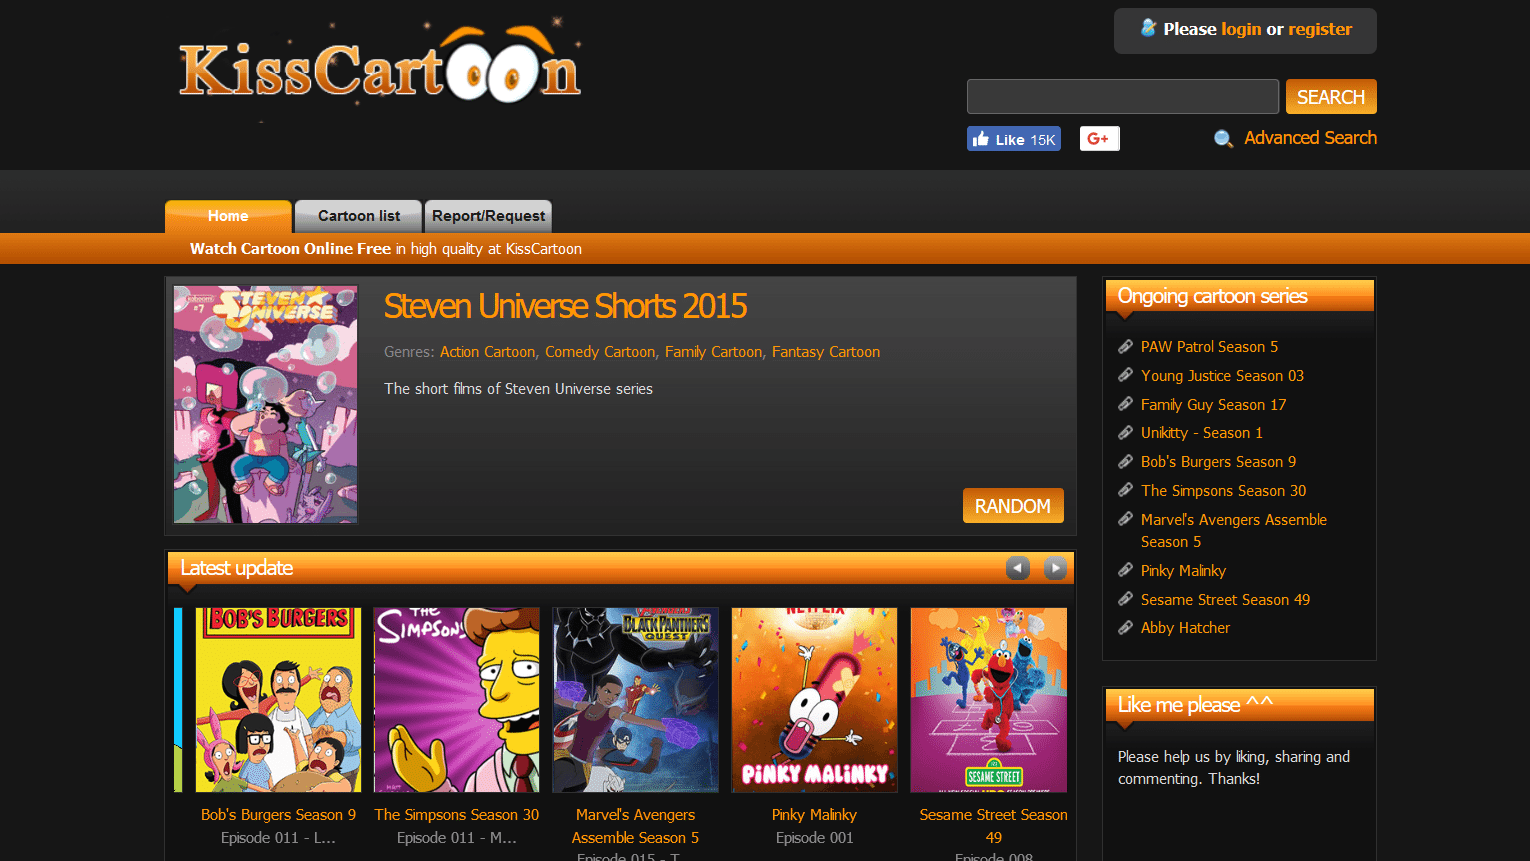
It is a site which provides many cartoon and anime series for free; its cartoons series is always updated and categorized for the users. Most of the cartoon lover may know about it. Here are the WatchCartoonOnline alternatives.
You can register on KissCartoon as a member after that you will be notified whenever new cartoon or anime uploaded.
Both sidebars are covered with the ads; also, you get pop-up ads after clicking on the video.
KissCartoon is too popular among the people; it has around 15 million monthly traffic; most of the users come from the US and UK on this site.
Read : Watch Anime Online 20 Best Free Anime Streaming Sites
AnimePahe
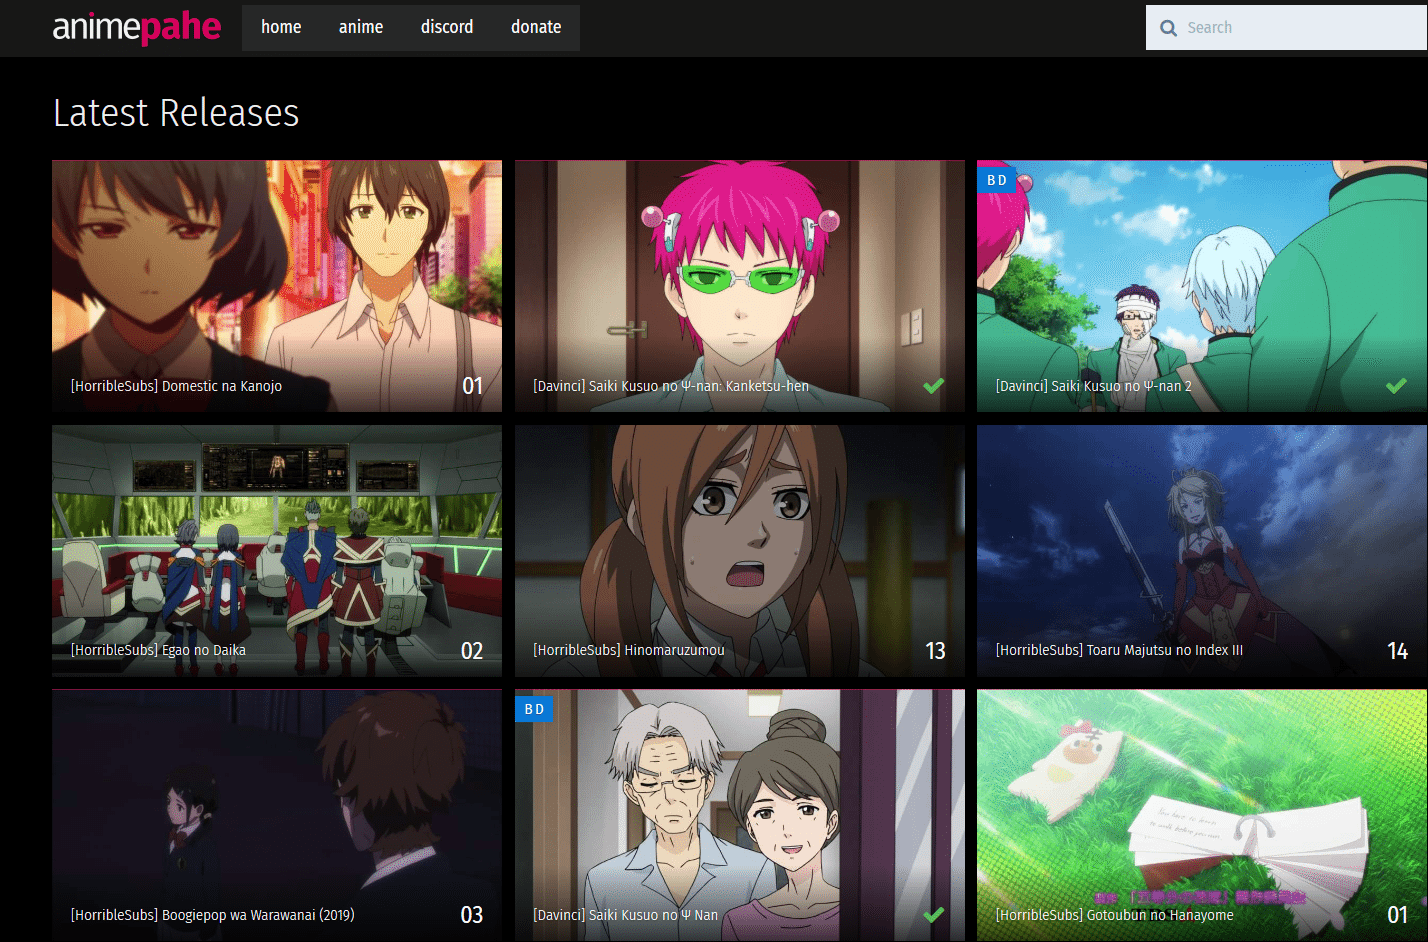
It is another best website which dedicated to the anime lovers; It offers many subbed, dubbed anime. Its home is ad-free and easy to understand, AnimePahe only shows the latest released anime on its homepage.
According to interface and user experience, this site is reasonable as compared to other free anime streaming site, you get the thumbnail and title of anime, and after clicking on it, your anime will start to play. The video player is also good with the clear interface.
AnimePahe has around 2.5 million monthly traffic, which comes from the US, India, the Philippines, and Malaysia. The different thing is Indians also visit, but it only offers English anime. Site like WatchCartoonOnline.
CartoonCrazy
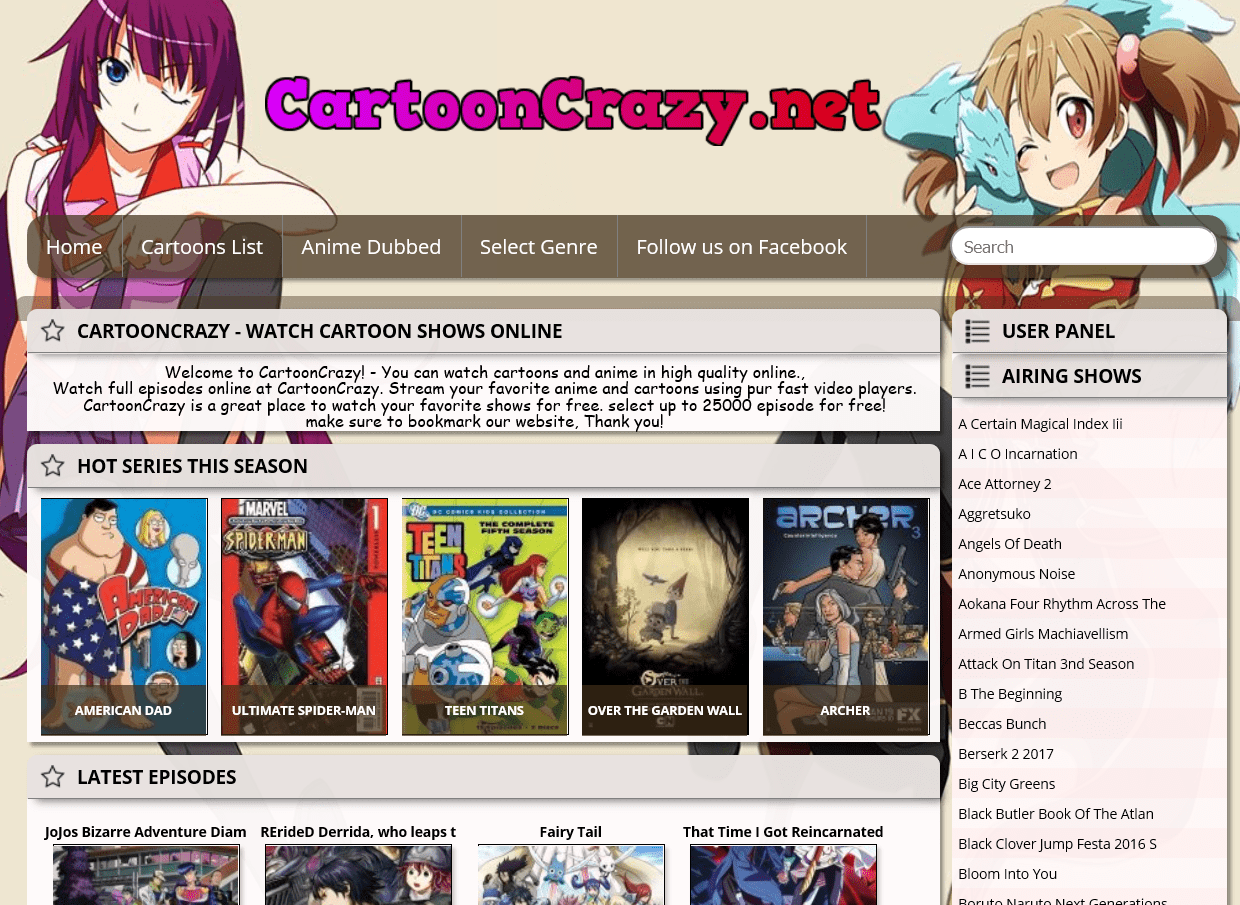
CartoonCrazy is also a good alternative for WatchCartoonOnline; it offers you many cartoon and anime series without sign up. It is also a good option for the English dubbed anime.
Interface and user experience is excellent, CartoonCrazy is easy to operate, it wouldn’t confuse you, Yes, you will see many pop-up and display ads which will open in the new tab of your browser.
This website has good popularity with the 12 million monthly users; most of the users are from the US, UK, and Canada.
Chia Anime

Chia Anime is also an alternative to WatchCartoonOnline, where you get a big collection of anime. It streams videos in the Hight quality, so you love to watch your anime here.
You will see many pop-ups and display ads on its homepage if you click then a new tab will open in your browser with the ad.
It has around 7 million monthly traffic, which comes from the United States and the Philippines.
Anime Nova
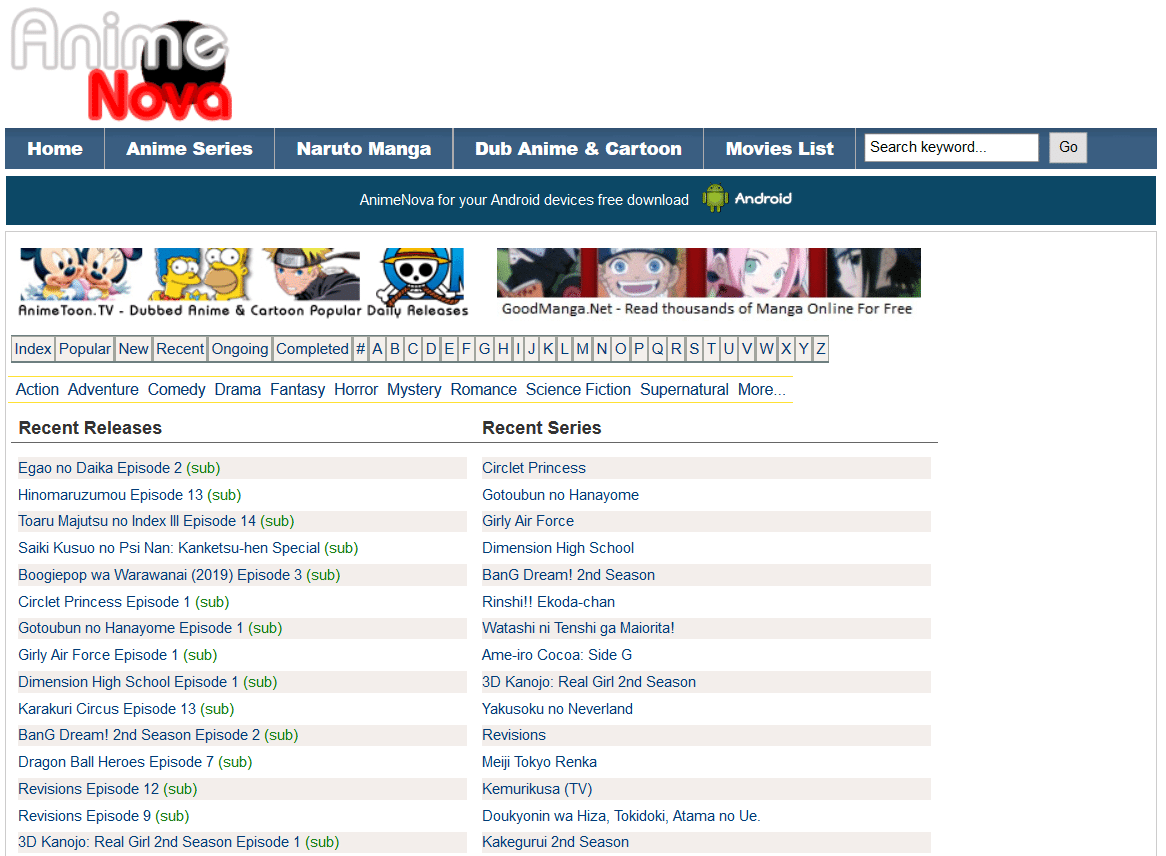
It is mainly for Anime fans; it offers many anime movies, Anime Nova is a text-based site, its homepage shows you the title of anime.
You don’t see any pop-up ads on its homepage; it has a clear interface and enjoyable user experience; the site also offers you a search tab where you can find your desired anime.
AnimeNova has around 3 million monthly users in a month, but most of the users come from Japan and the United States.
KissAnime Club
It is a new website which offers you many anime movies and television series; You get the clear interface and better user experience here. Its name is quite similar to the popular anime site WatchCartoonOnline, but its domain name (URL) is different.
The best part of this site is that you don’t get annoying ads while streaming cartoons, this site offers you many subbed, dubbed anime as well as movies. Users get a dedicated list for all popular anime series.
Kiss Anime Club is a new site, so it doesn’t have good traffic, You will like its video player because it is easy to operate, and also you get the button to share and download the anime video.
OtakuStream
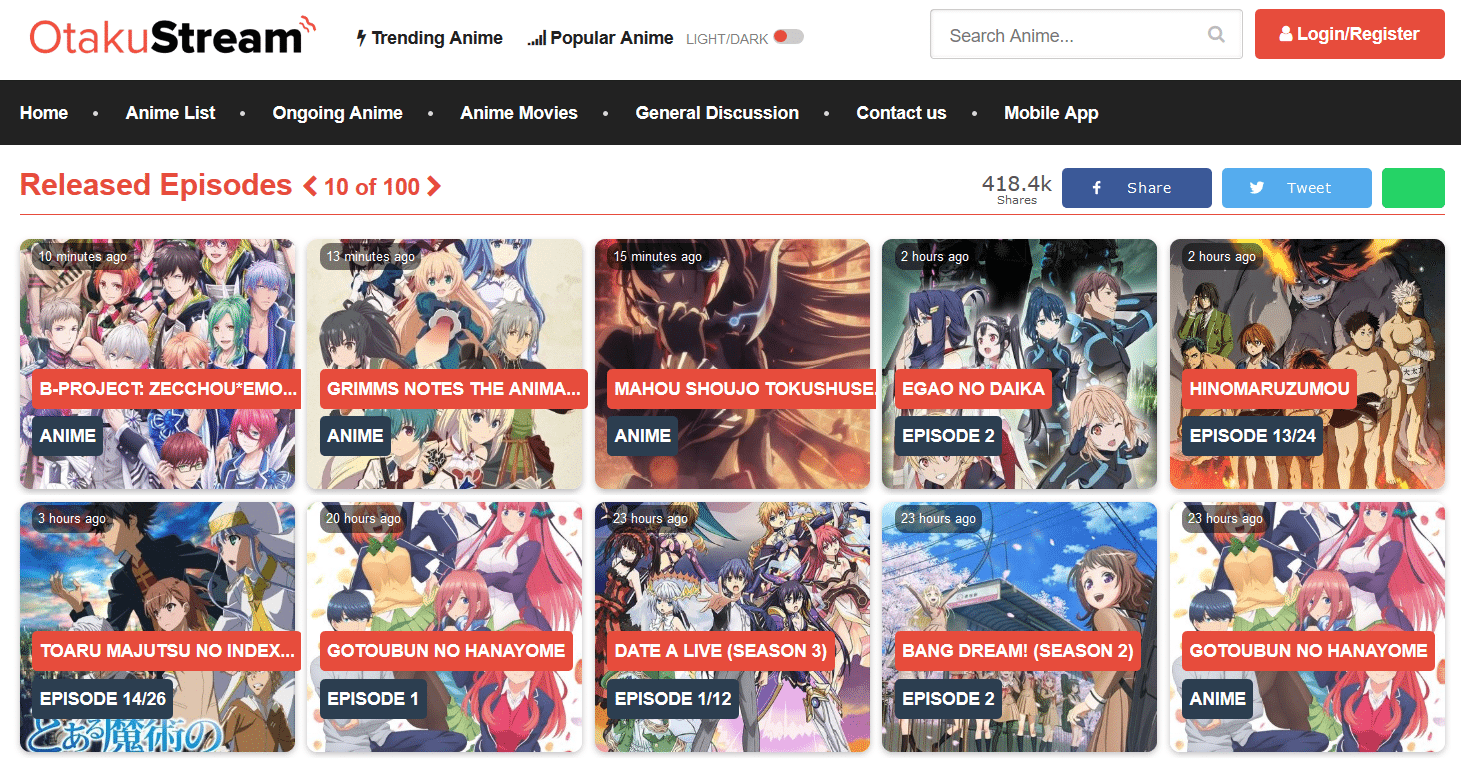
OtakuStream is the best site to watch anime online; It offers you latest released anime which all set section wise. It has a feature called Light/Dark; you can select this according to day and night.
OtakuStream has the best interface and user experience; you don’t see any ads on its home page, along with it, users can sign up here with Facebook and Twitter. It offers a search bar where you can search your favorite anime.
It’s time to know about popularity, because of excellent interface and UX this site has around 15 million monthly traffic which comes from the US, UK, Canada, and Germany.
CartoonsOn
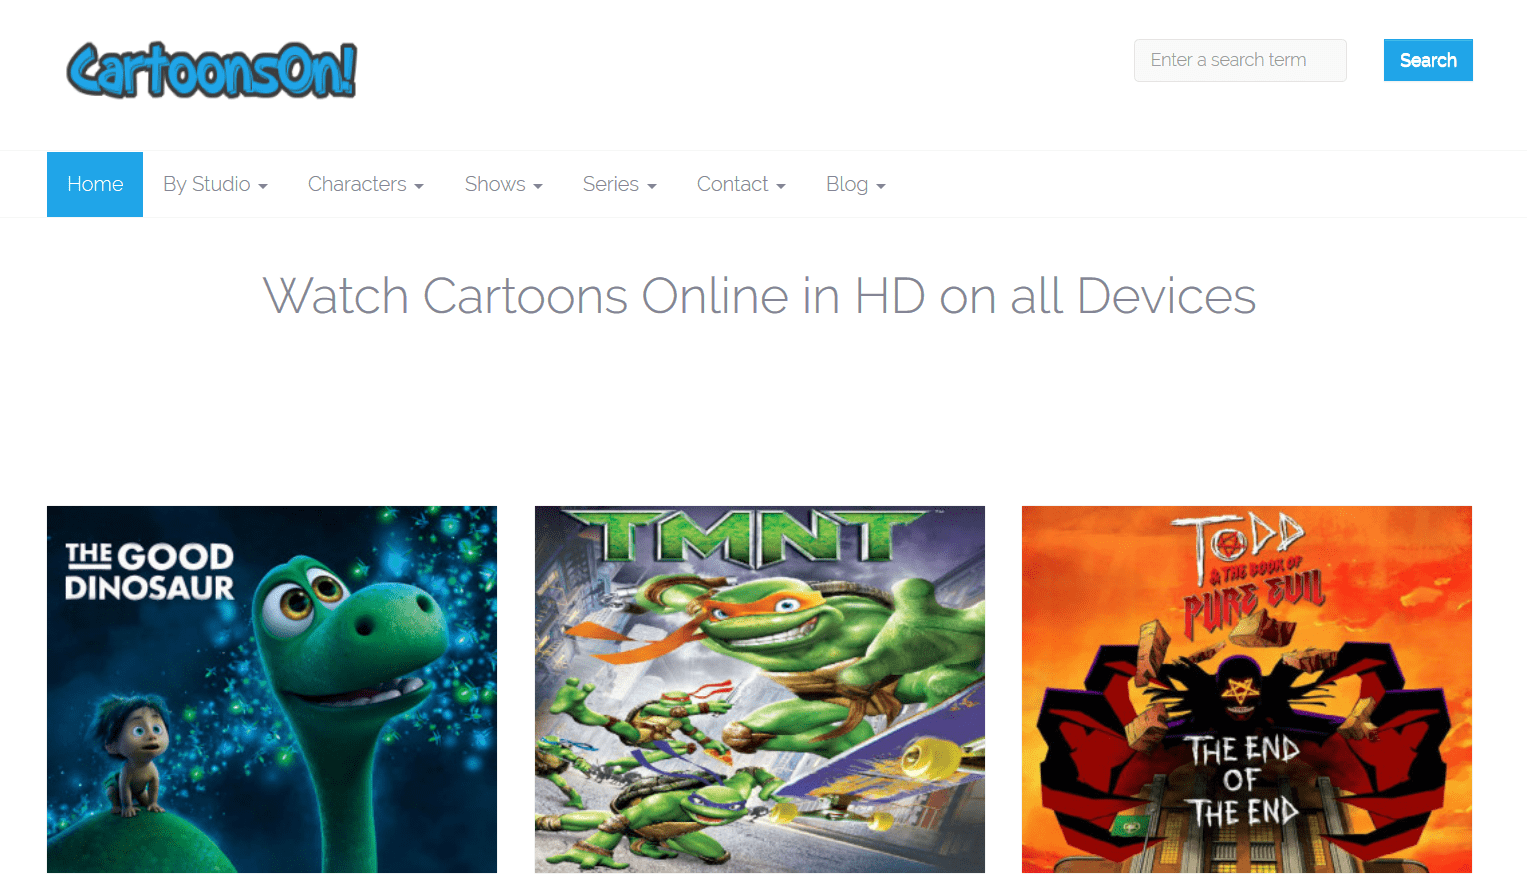
It is the site which offers you many famous cartoons and anime series free of cost, CartoonsOn has a small library of the cartoon, but if your cartoon title is popular, then there is good chance to stream.
I don’t like its user experience, because many times it shows annoying ads which will redirect you to harmful sites. Users may be confused about where they should click to play a video.
CartoonsOn has around 5 million traffic in a month; it is popular in the US, UK, Canada, and Netherland.
AnimeShow
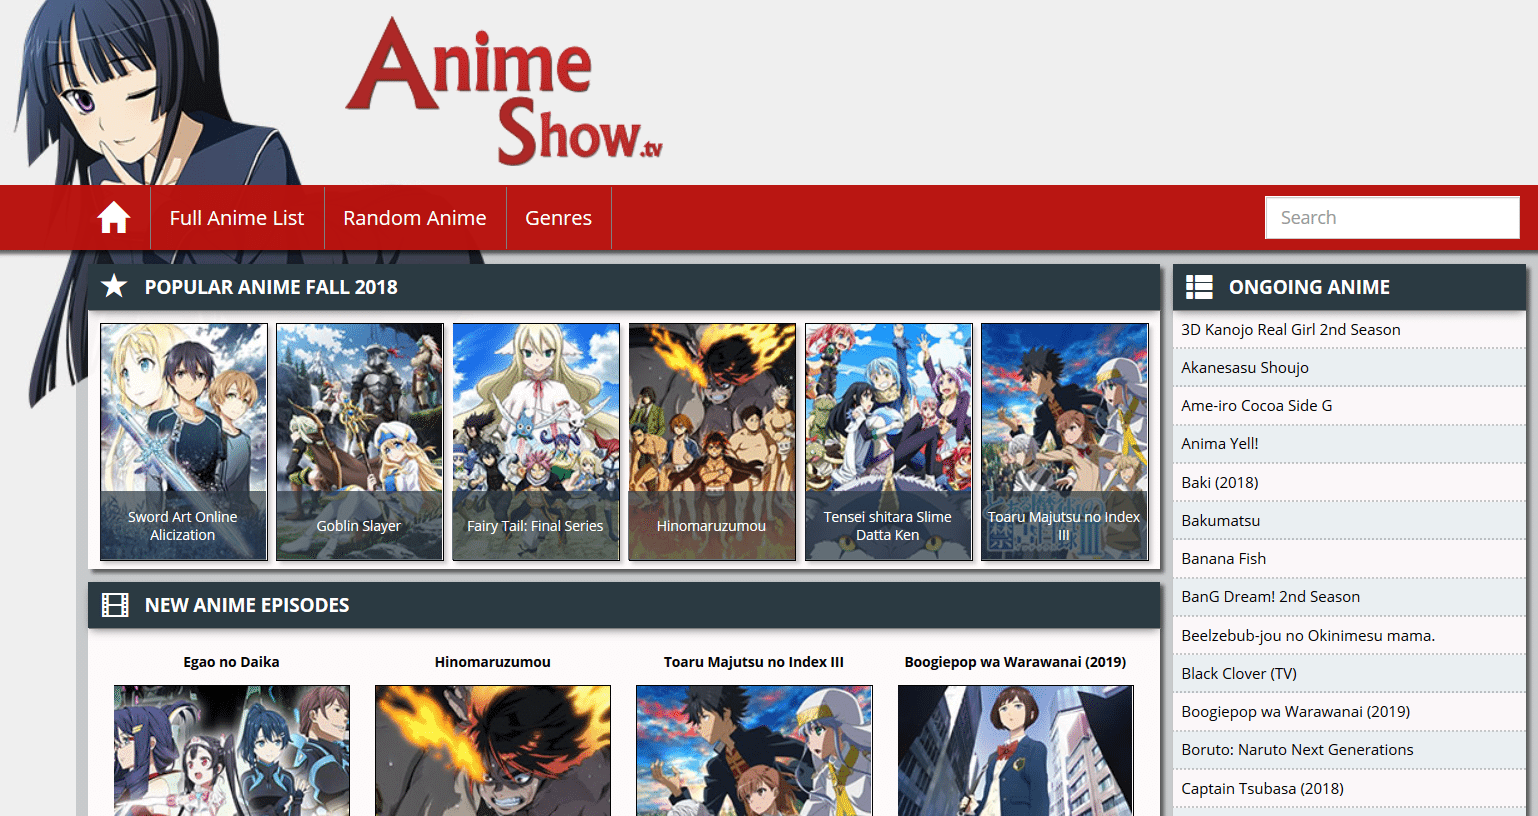
AnimieShow is another site which streams tons of Anime worldwide; It has a big collection of anime. You can search for your favorite anime in the search tab.
You will see pop-up ads when you click on this site; it doesn’t depend on where you clicked. That’s why many users hate this site, although it has a big library of anime.
This site has a good authority with 11 million traffic in a month; it is popular in the US and UK.
AnimeUltima
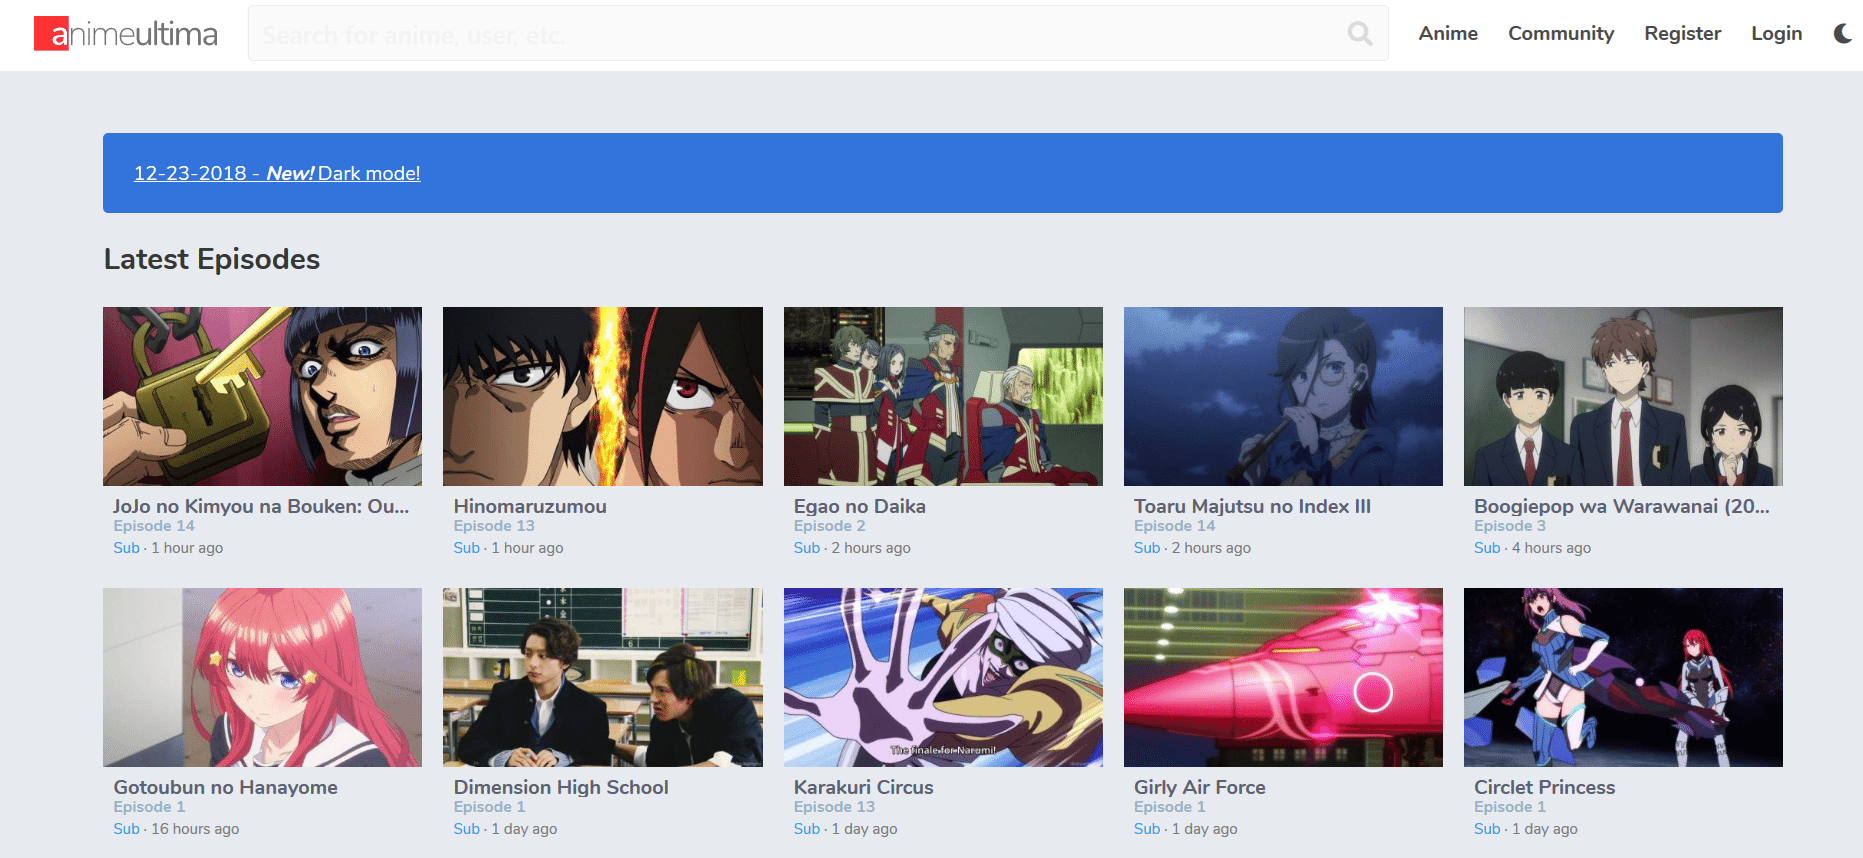
AnimeUltima has many sections on its homepage where you get a dedicated category of Latest Episode; Popular Shows in 2019, All time popular, and latest added anime. It also offers many TV series. It could be an excellent alternative to WatchCartoonOnline.
This site has an excellent interface; its homepage is quite clear and ad-free, you get a prominent search bar where you can search your anime which you want to watch. Users can sign up here.
AnimeUltima has 3 million traffic in a single month; this site is new, so its popularity is enough according to time. It is popular in the United States, Brazil, and the United Kingdom.
AnimeFLV
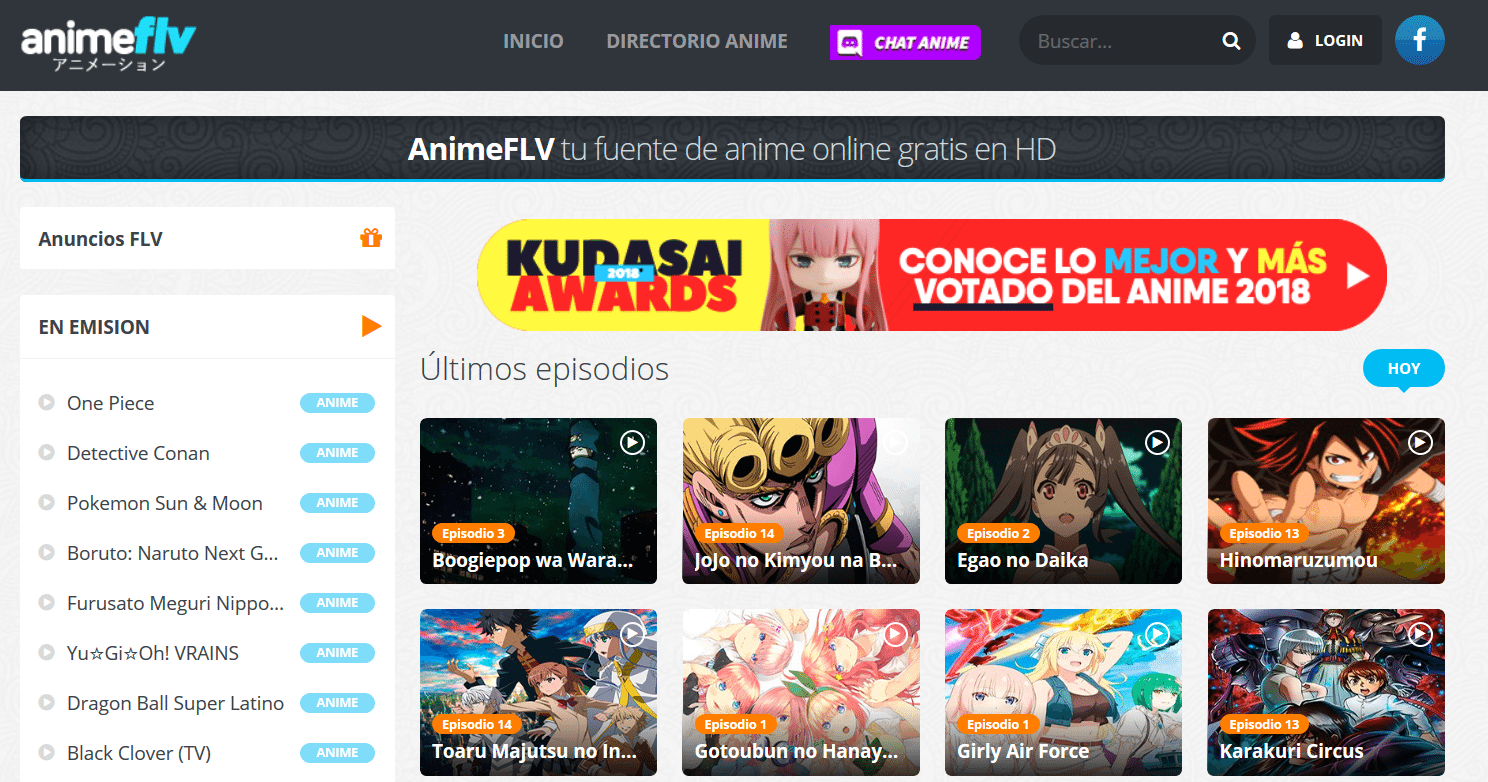
AnimeFLV is the big name for Anime, I can say it the father of Anime, but one and the most thing is that is not for the English language, If you know Spanish then it could be the best option to watch all kind of anime online.
User interface and experience are up to the mark; it provides you with a list of anime in the left sidebar; also you can search your favorite anime here.
AnimeTV
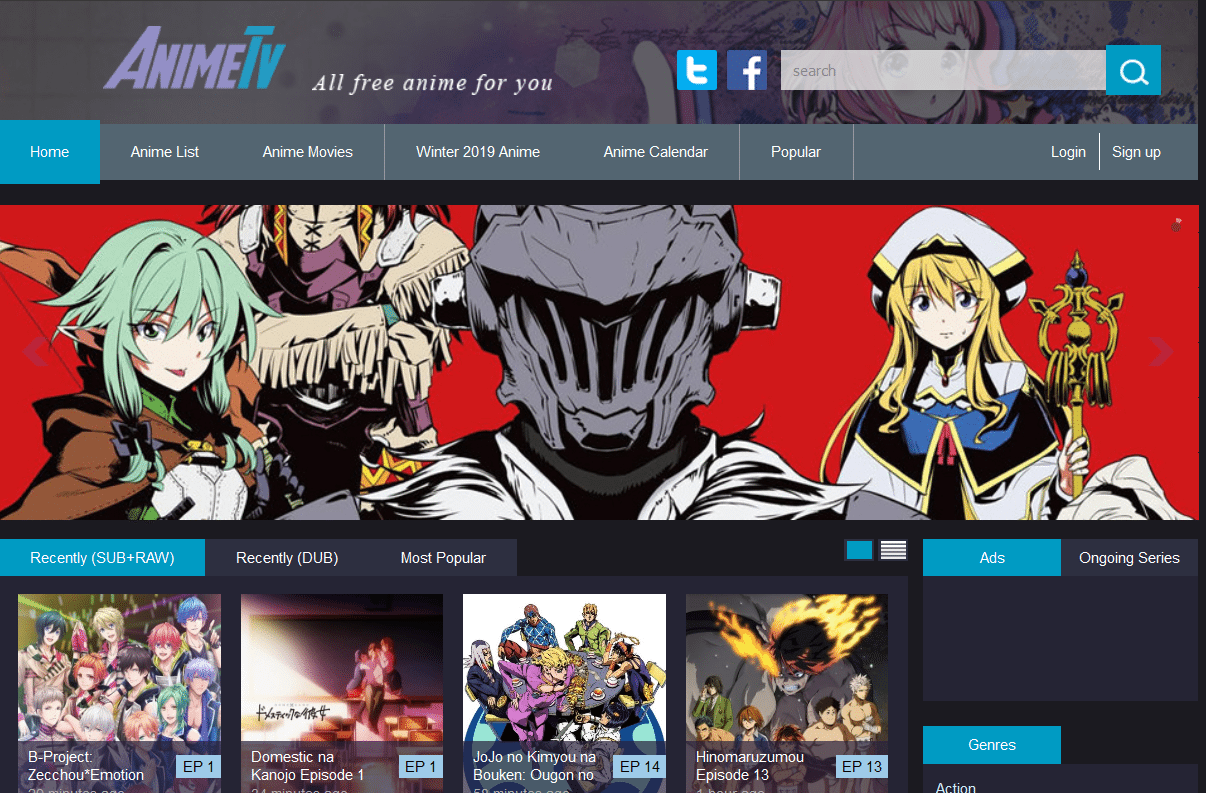
AnimeTV is also an excellent place to watch the latest Anime online. It offers the latest subbed and dubbed anime in the English language.
Both sidebars are covered with the display ads, and the middle is filled with the latest anime thumbnails. Users can sign up with Facebook and Twitter.
Anime TV is a favorite in the US and UK with 7 million monthly users. Visit this site to explore more features.
Anime Heros
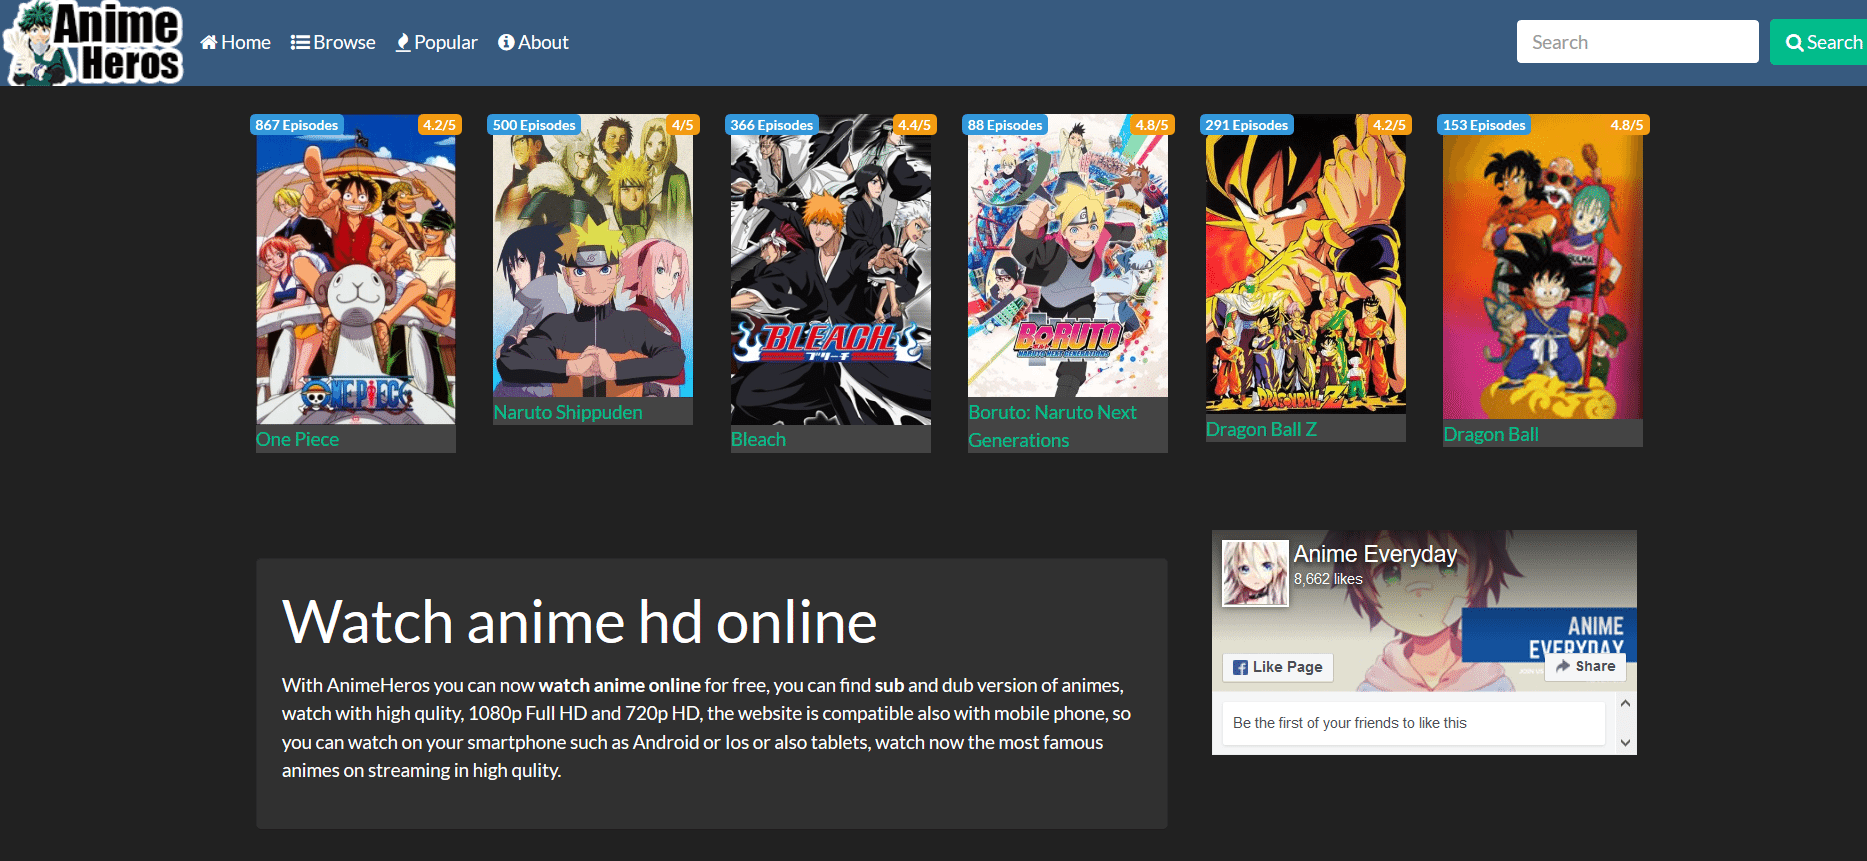
It is a new one in the cartoons streaming world; It provides you with most of the famous and latest anime. It has some section where you notified about the Which animes are most watched and famous on this site.
You don’t see display ads on its home page, but you get some pop-up ads while streaming anime. It has a simple and easy to operate interface.
Anime Heros is not an old site; that’s why it has around 150K monthly users.
FreeOnlineAnime
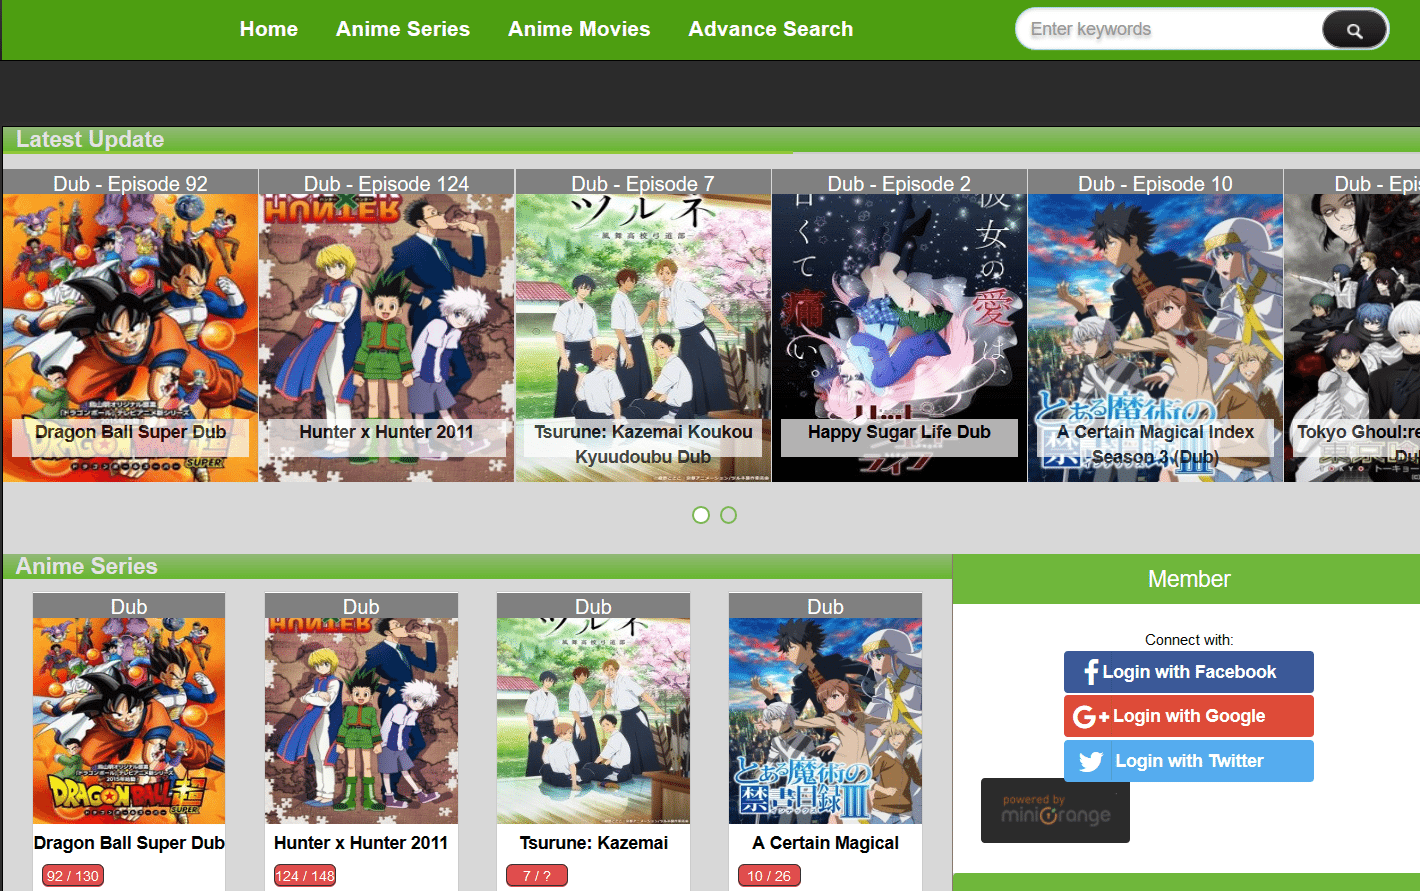
It is one of the best options to watch Anime online; this platform is not for the Cartoons lovers, FreeOnilneAnime offers you many amine series and movies.
Users can navigate this site quickly; the video player is similar to YouTube, which is a different thing from the other streaming sites. Users can stream all videos in the High definition.
Free online anime is a new site, and it doesn’t have good traffic, but it provides you the good UX so try this site now and enjoy your favorite anime online.
Cartoon Network
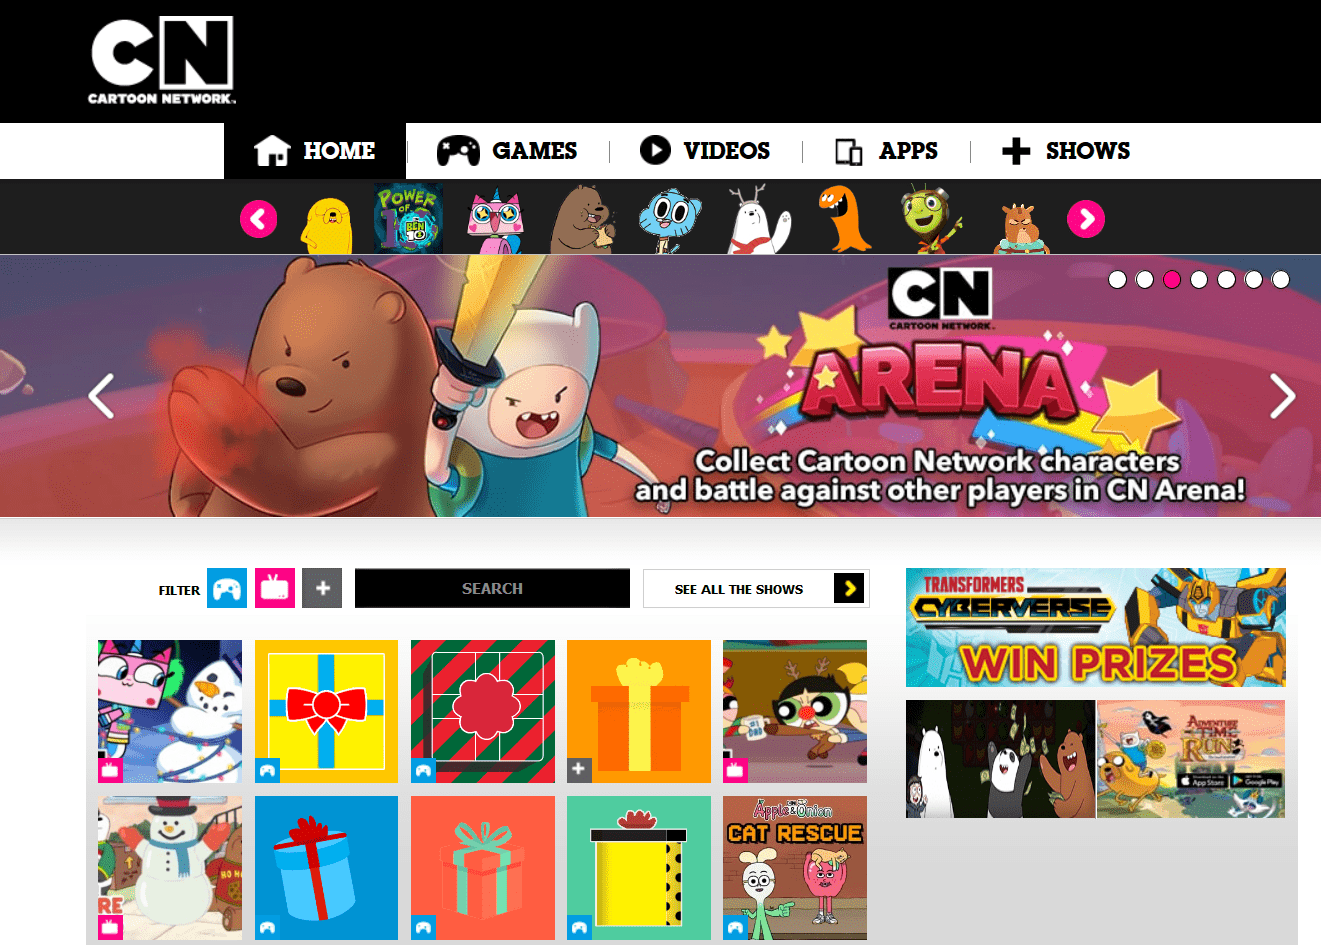
Most of the Anime and Cartoon fans already know about it, Cartoons Network is also an excellent option to stream many cartoons. It provides some web-based games for the kids.
It has an excellent interface and user experience because everything is like premium, users can play a video in the best quality within 2 clicks. They only have a small library, and that is the bad part of it.
Cartoon Network has around 1 million monthly visitors, most of them come from the US and UK.
WatchOnlineCartoons
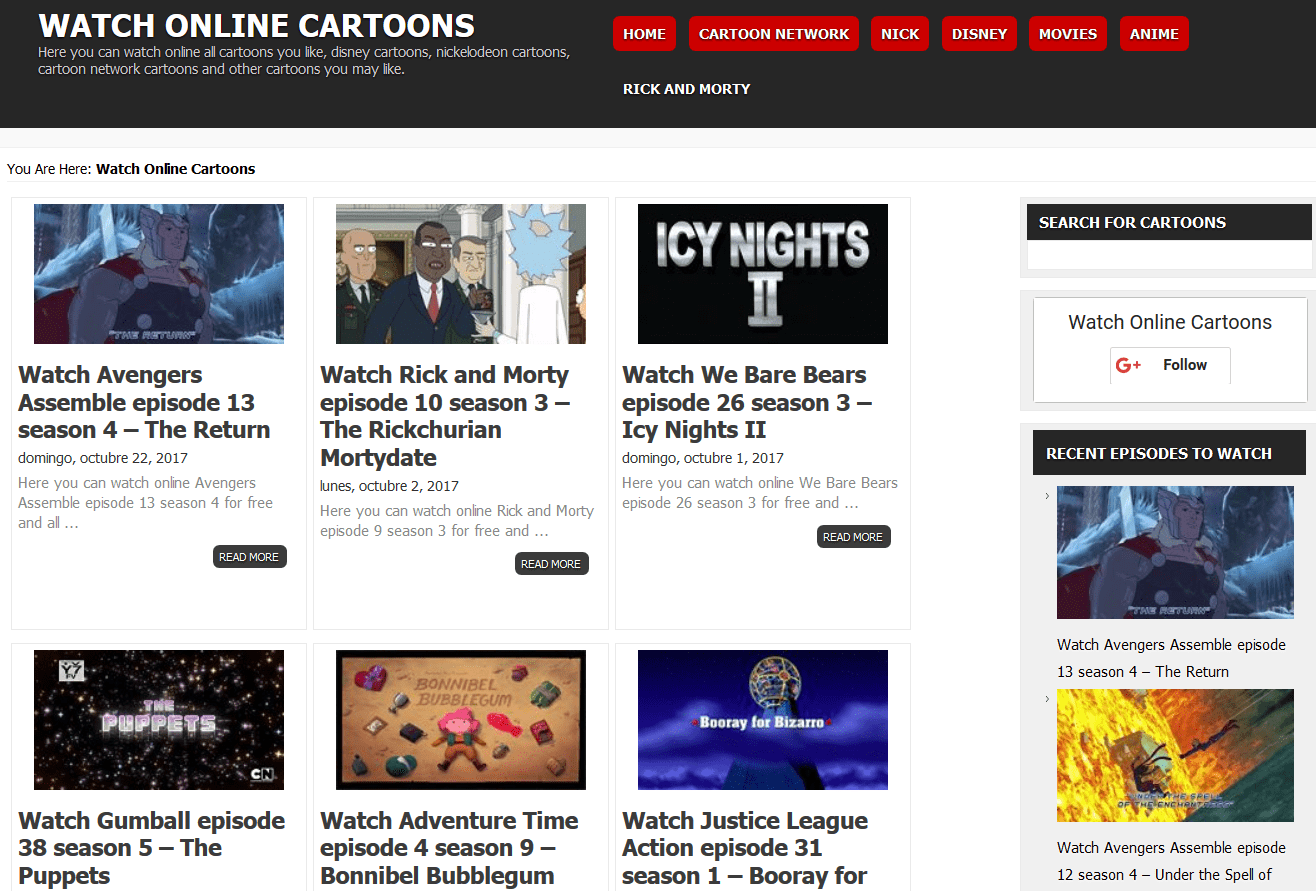
The name is quite similar to WatchCartoonOnline; It offers you many cartoons and Anime, this site also provides you the content from the Nick, Disney, Cartoon Network.
It has a clear homepage which covered with the thumbnails of your favorite anime and cartoons. You also get many pop-up ads while streaming.
This site has low traffic; it is around 30K.
Anime Freak TV
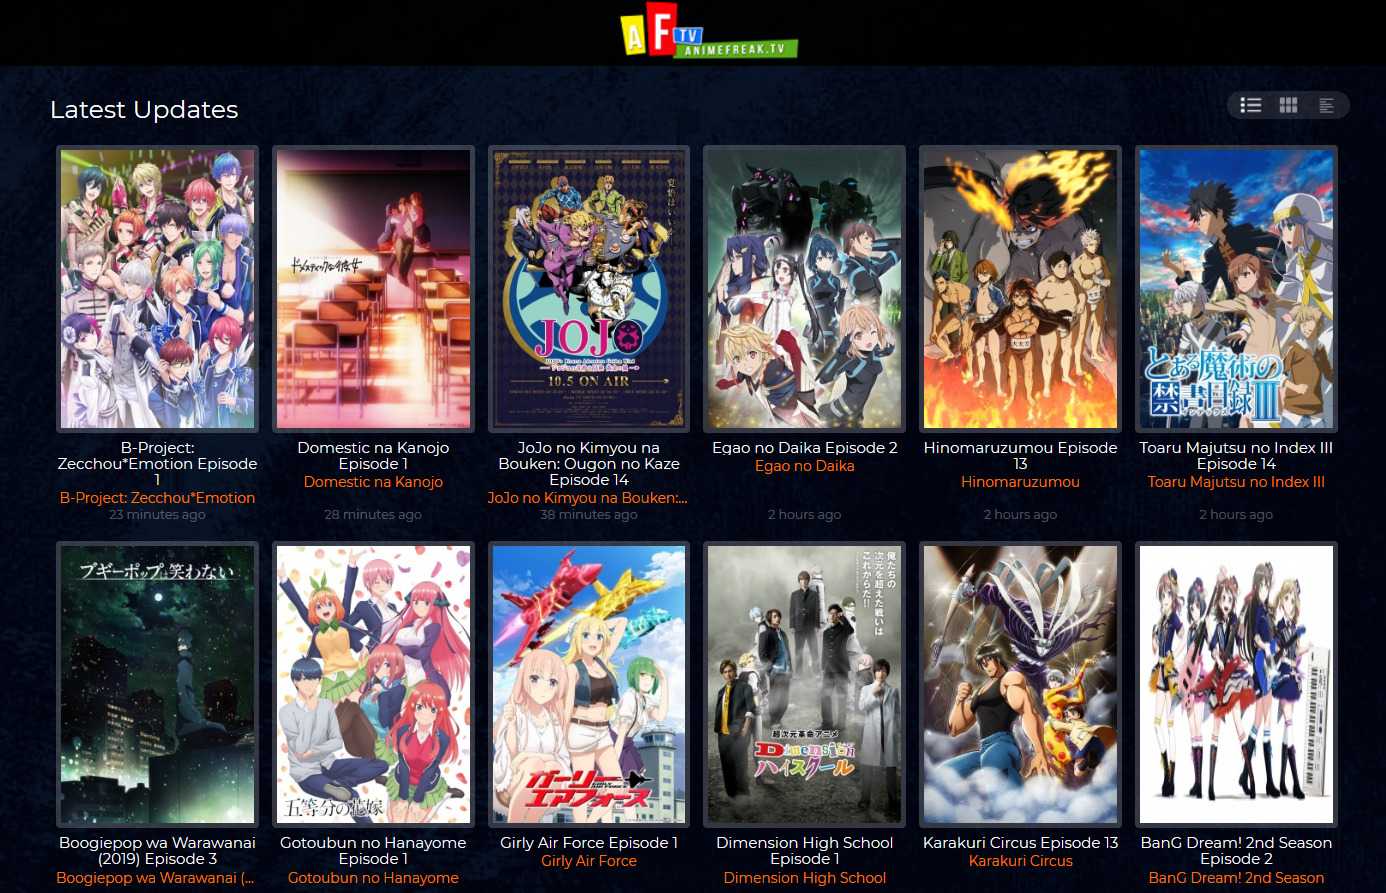
AnimeFreak TV is one of the good alternatives; it offers you many anime titles, users can browse by the genre, alphabetically, popularity, and latest released episode.
The user interface and experience is okay; It offers much anime on its home page, the sidebar is covered with the display ad. the video quality of the streaming is not bad.
According to the similar web, this site has around 12 million monthly visitors, most of the users come from the US.
1. Where Can I watch old cartoons for free?
It’s simple to view classic animations for free. CartoonCrazy, CartoonsOn, and ToonGet are well-liked websites for streaming iconic cartoons online.
2. Is WatchCartoonOnline a safe?
Yes, WatchCartoonOnline is a secure option for viewing anime online. Since the website is free, it is crucial that you avoid the advertisements and pop-ups, as they may lead you to malicious websites.
3. Is WatchCartoonOnline legal?
WatchCartoonOnline it hosts copyrighted content, WatchCartoonOnline is unlawful in most nations. Before you begin streaming anime on WatchCartoonOnline, you should verify your region’s streaming policies.


Add Comment